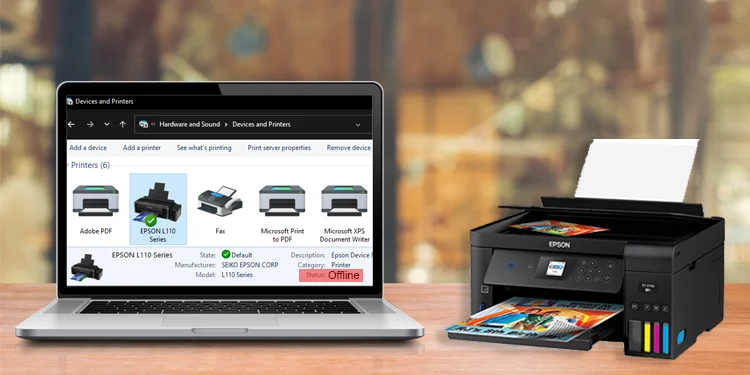
how to set default printer in windows 10
Windows will automatically set your printer to the last one you used in your current location. This article will tell you how to set default printer in windows 10. However, you can disable this feature to manually set your printer to your preference, so it doesn’t change every time you move.
You can set a default printer for your Windows 10 computer to make it easier and faster to print documents.
Although you can change the printer for each job, changing the default printer on your favorite Windows computer can save you from having to set it up every time.
You can also return to this default setting later, if that’s your preference.
how to set default printer in windows 10
How to set up a printer in Windows 10
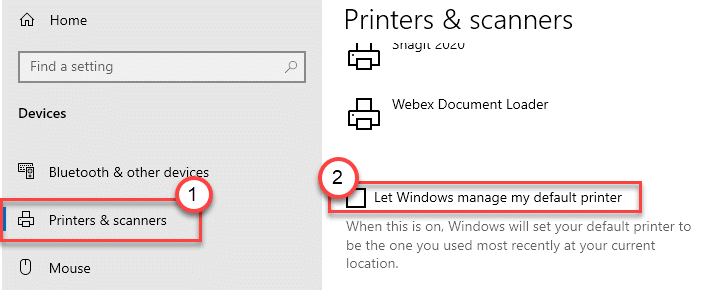
- Press the Windows key on your keyboard or click the Windows icon at the bottom left of your screen and search for “Printers“.
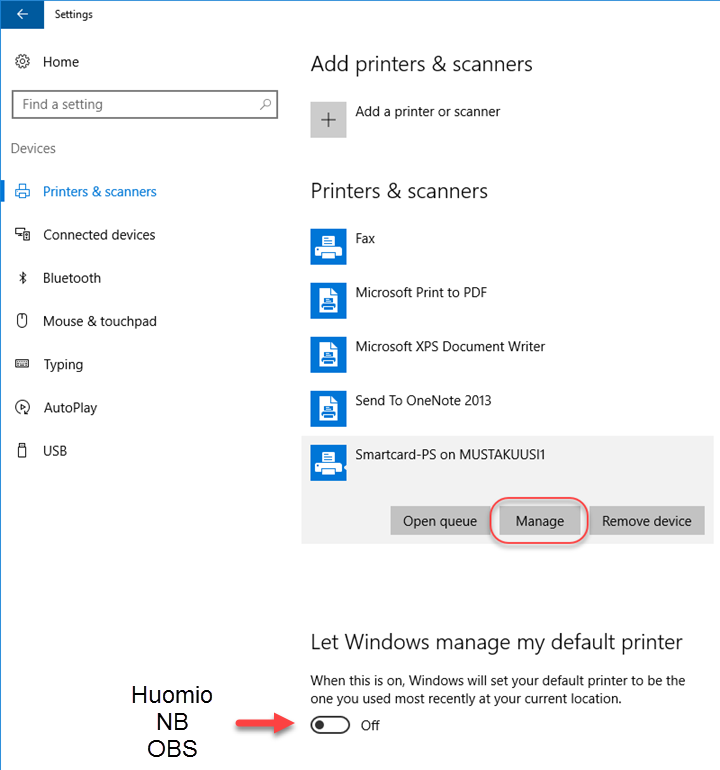
2. Select “Printers & Reviews” in your search results.
3. Uncheck “Allow Windows to manage my printer defaults” at the bottom of the screen by clicking the checkbox.
4. Select the device you want to set as default from the list of printers and scanners.
Click it, then click “Manage“.
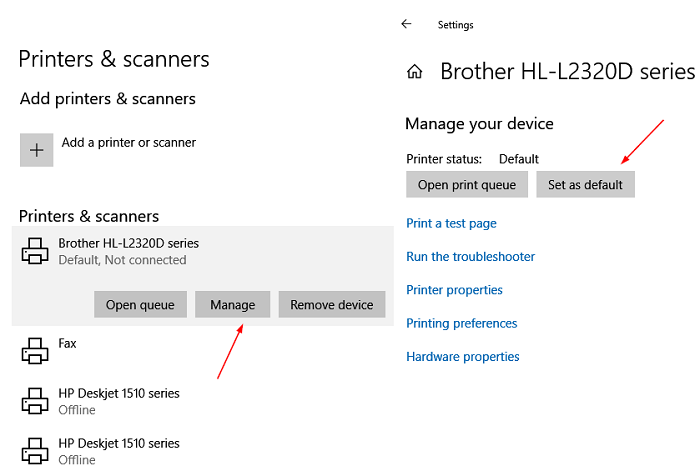
5. On the new screen, select “Set as background“. This should be your default printer now.
6. To return to the default printer settings, check the “Let Windows manage my printer” button again. This can be very useful if you have a laptop that changes printers often.
Manually changing the default printer like this still allows you to change your printer individually if you want, every time you print from the app.
You may also like

how to change siri pause time in iphone iOS 16
Today we tell you how to change Siri Pause Time in iPhone iOS 16. While Siri isn’t as good or
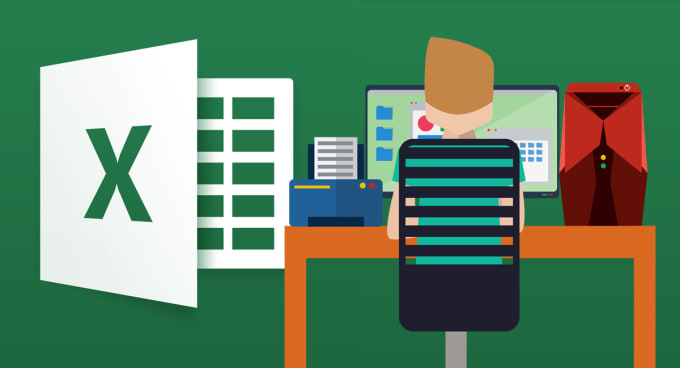
How to Change Text Case in Microsoft Excel 2019-2010 easily
This post is about how to Change Text Case in Microsoft Excel 2019-2010 easily. In this article will
How To Get Referrals On Facebook
This article is about How To Get Referrals On Facebook. Are you having trouble accessing Facebook lo