how to install a kitchen sink – 13 Easy steps
Here is a simplified guide on how to install a kitchen sink. We have used 13 easy steps to show you how to remove and install a kitchen sink without necessarily using a plumber.
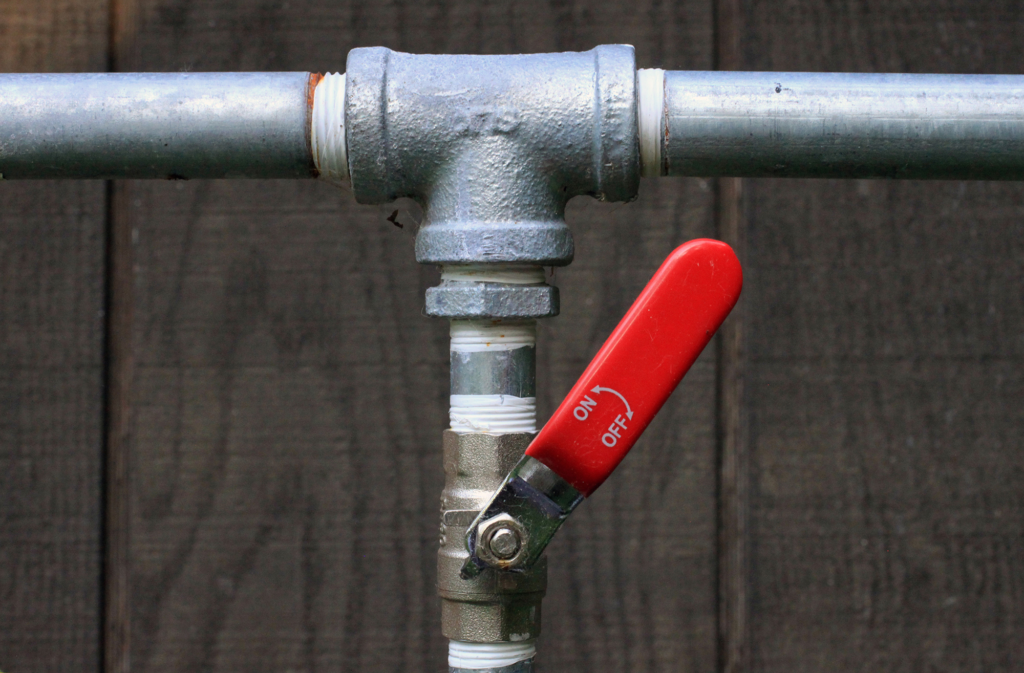
1. Close the water supply valves
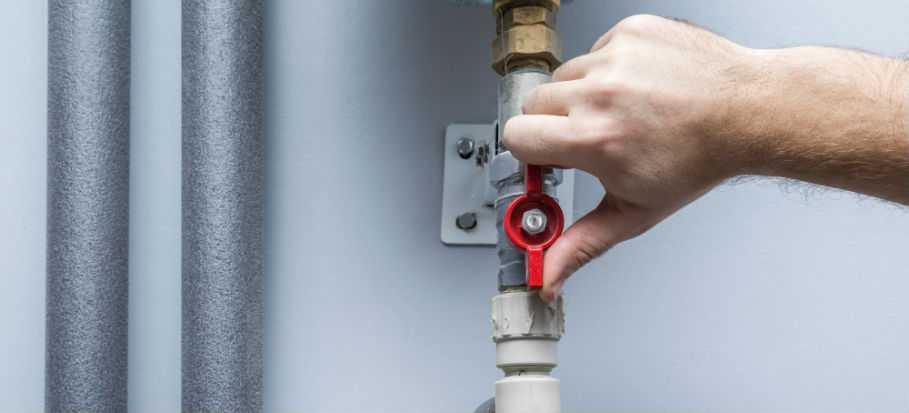
Remove anything you may have stored under the sink and locate the hot and cold water lines that supply the kitchen faucet. In these lines there should be an isolated valve that can be closed to stop the flow of water from the faucet.
Turn off the hot and cold water and turn on the kitchen faucet to drain the remaining water.
If your kitchen faucet does not have an isolation valve on the hot and cold water lines, you will need to find a main shutoff valve that controls the water flow to the home. This valve is located where the main water enters the house.
Look in the basement or attic to find this valve, but if you can’t find it, you can contact your local water company or hire a plumber to turn off the water at Outside the House.
2. Disconnect the supply and drain lines
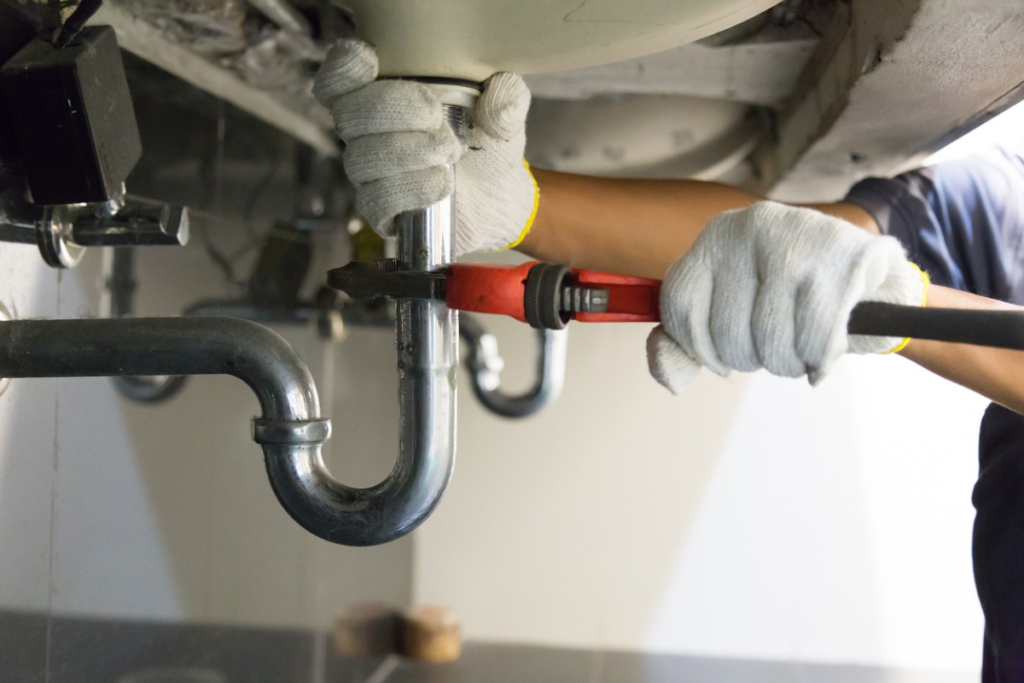
Use a channel lock set to loosen the nut that connects the hot water line to the pipe, then repeat the process with the nut on the cold water line. The plumbing line will still have water, so place a bucket under the sink and place it on the hot and cold water lines.
Next, loosen the nuts that secure the waste pipe to the P-trap, then pull them apart and set them aside.
Keep in mind that the pipe is also at risk of falling, so place the bucket properly before disconnecting the pipe.
It is recommended that you label all the parts you removed and put them in a safe place until the rebuild.
The dishwasher’s hot water hose is connected to the water pipe under the sink, so it will need to be disconnected to remove the water pipe making more space under the sink.
At this point, be sure to turn off and remove the trash if you have one.
Follow the manufacturer’s instructions for safely removing the trash can.
3. Cut the putty around the sink
To separate the kitchen sink from the countertop, you will need to use a utility knife to cut the putty around the sink.
Run the blade under the edge of the sink, making sure the blade is flat so it doesn’t cut into the countertop.
Cut the material that is currently working as both a seal and an adhesive between the sink and the counter.
If you have a sink underneath, you will need a 2×4 board that is longer than the sink is wide.
Place the board over the sink, and make a bar block in the water, securing one end of the bar to the 2×4 and the other end against the drain.
Use a second clamp if you have a second drain to prevent the sink from falling when you cut the caulking joint.
4. Loosen or separate clips under the sink
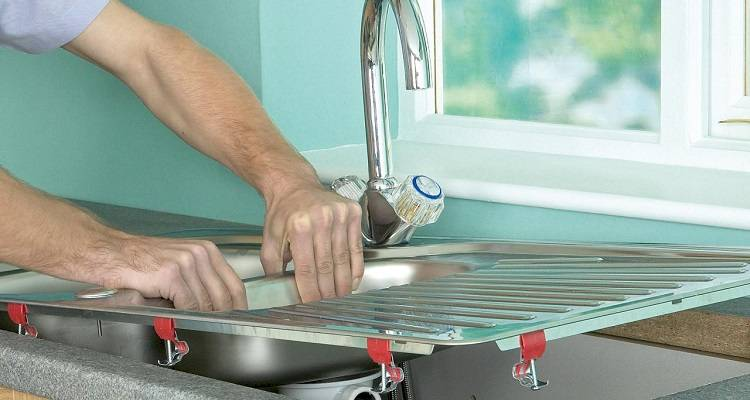
It’s not the only thing that holds the sink to the counter, so you have to crawl under the sink and find the sink clips around the edge of the sink. Use a screwdriver or wrench to loosen the clips, allowing them to rotate. If the clips cannot be converted, just remove them completely.
Keep all clips in good condition, but replace any clips that show signs of excessive strength, such as cracks, rust, or significantly reduced strength.
5. Remove the old sink
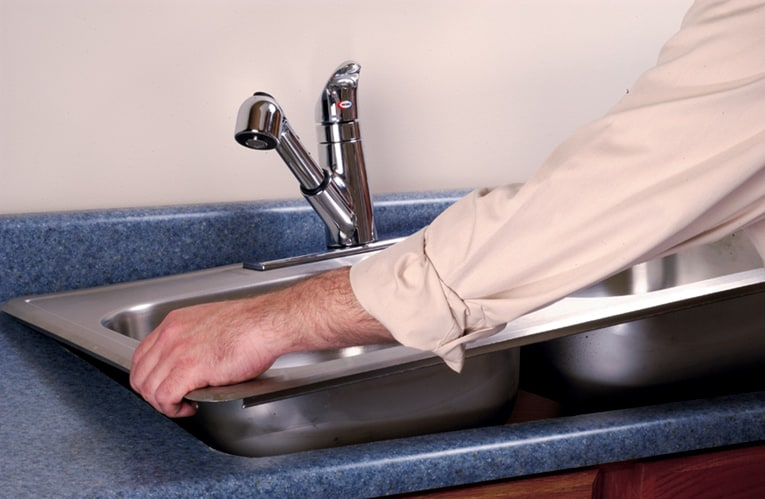
If you have an undermount sink that sits on the counter, it’s a good idea to have one person tap the sink underneath while the second person holds the sink from above. Set the old sink aside so it doesn’t block the installation of the new sink. If you have an undermount sink, you’ll want to loosen the clamps securing the sink to the counter and lower it gently.
6. Remove the sink from the sink cabinet and set it aside.
Warning
The sink is heavy. If you are not sure whether you can remove the old sink or fit the new sink, be sure to get help from a second person. Attempting to move a large and heavy kitchen sink can injure or damage countertops, plumbing, drain lines, and new kitchen sinks.
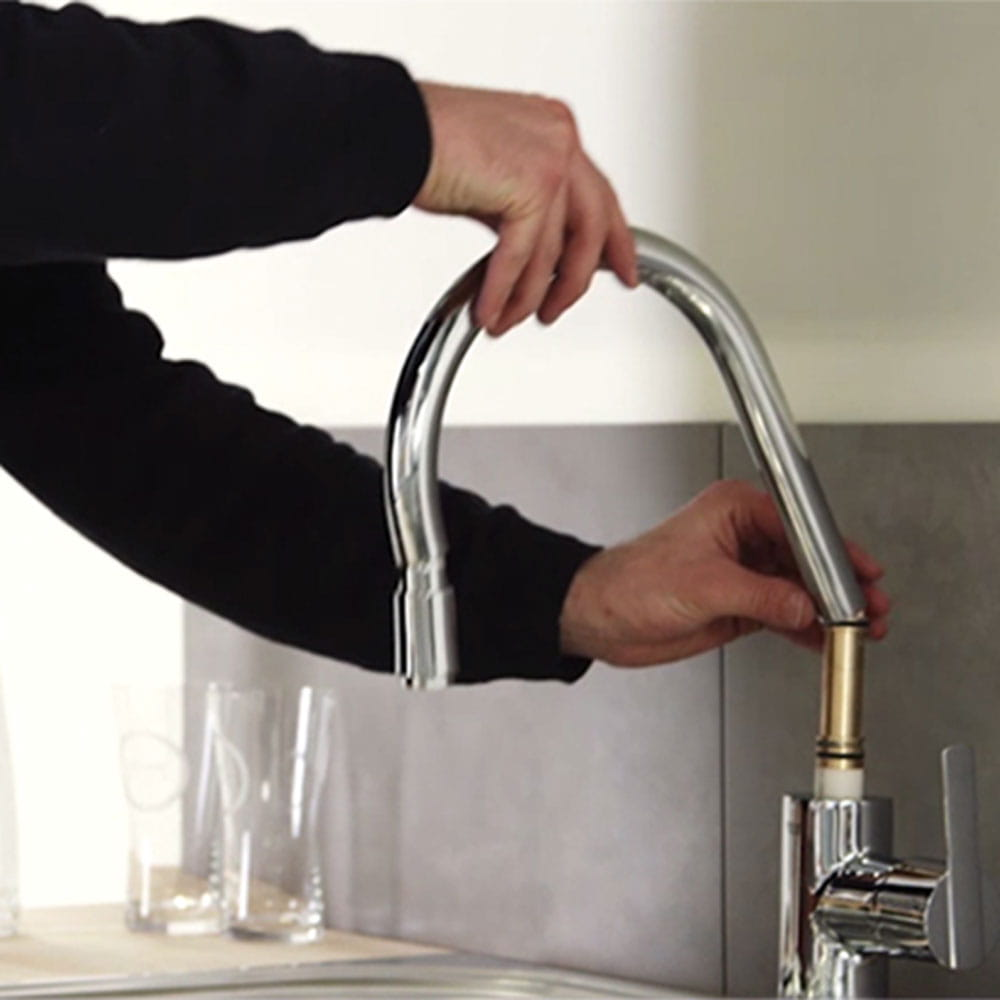
7. Install and clean the new sink
Before using caulk to secure the new sink to the counter, try placing the sink in the hole left by the old sink to make sure it fits properly. If it fits well, you can use a jigsaw to cut out some of the countertop to help the larger sink fit better, but the smaller sink needs to go back to the store and be replaced with the right product.
Once you are sure that the sink fits properly, apply silicone sealant to the edges of the sink.
For an undermount sink, apply putty under the rim of the sink, then carefully lower it into the hole and use a rag to remove any residue. Where the sink is below the sink the cover will need to be placed over the top of the sink.
8. Place the sink in the cabinet and lift it into place.
You or a helper will need to hold the sink while securing it to the countertop with a small sink clip. It is also a good idea to install 2×4 clamps on the bar temporarily to ensure that the clamp creates a strong seal between the sink and the counter.
9. Secure the sink with a clip
A small sink can be added to keep the sink on the countertop. While this process must be done in the previous step for undermount sinks, it can be done later for sinks. Be sure to replace rusty or damaged sink clips to ensure that the new kitchen sink is supported on all sides.
10. Reconnect the hose to the water line
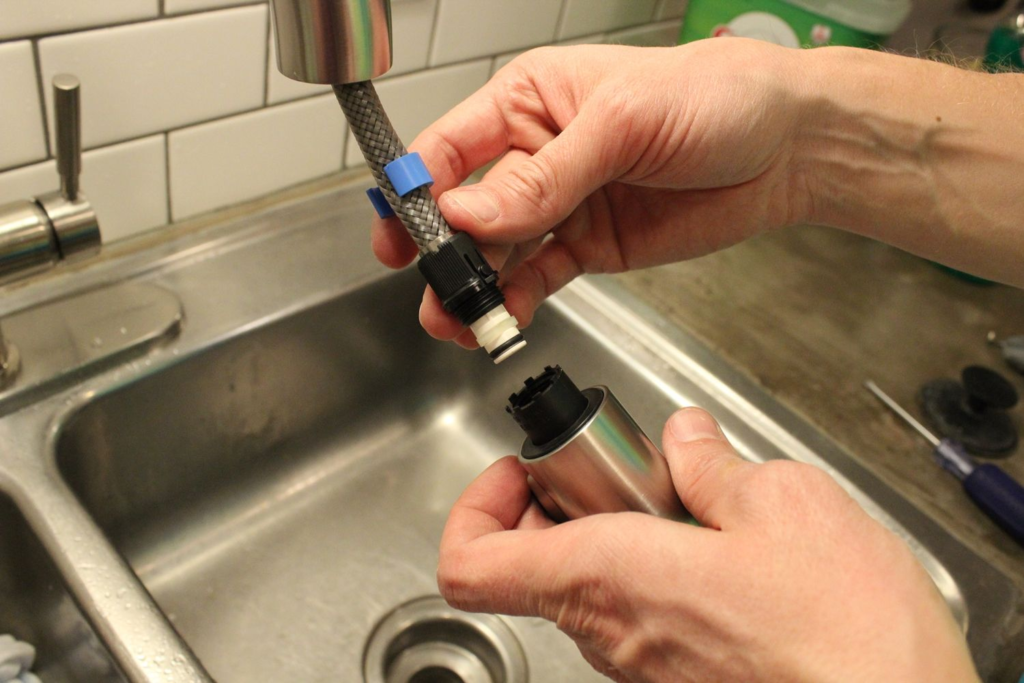
The plumbing installation process is the same, even if you are installing new pipes. You will need to run the lines from the pipe into the sink and secure the faucet to the sink with a washer and nut. For better quality, it may be necessary to have a second person hold the faucet while you tighten the nut.
Connect the hot and cold water supply lines and pipes to the base of your drain plug, but make sure you don’t flush the water to the port because the water has nowhere to go now either. except in the cupboard under the sink.
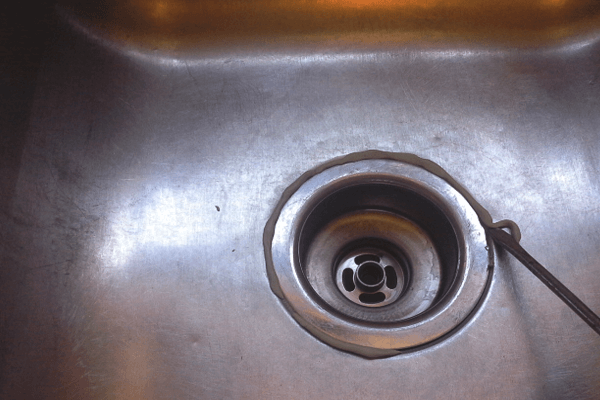
11. Install and close the drain strainer
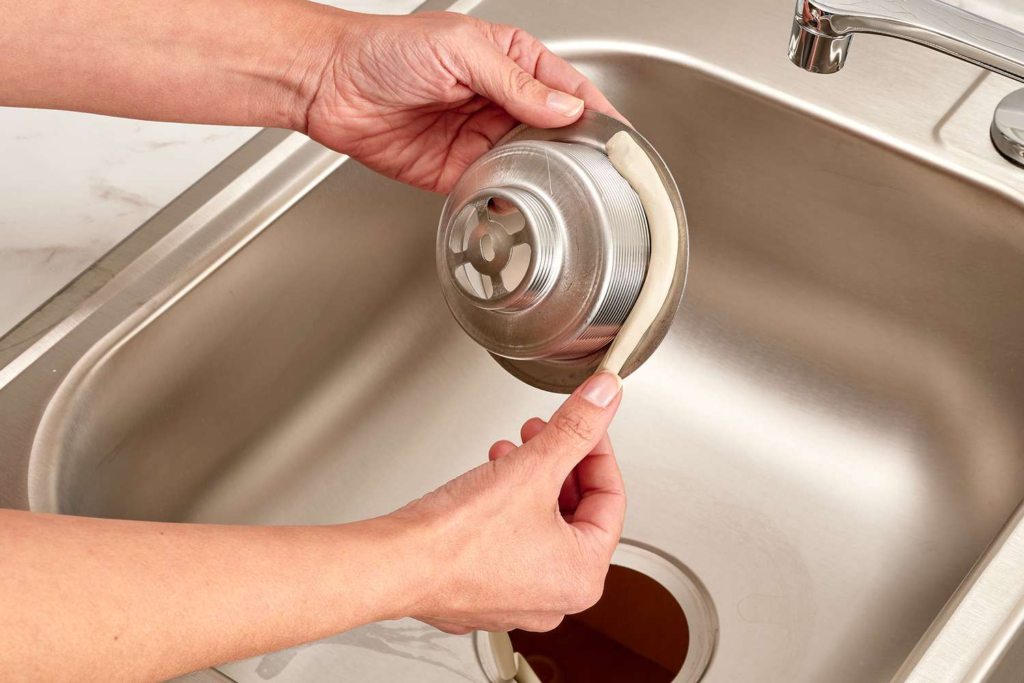
Apply plumber’s putty under the drain, making sure there are no gaps that could cause future leaks. Press the strainer into the drain, then screw the rubber drain strainer gasket and nut on the bottom of the strainer from under the sink. Secure the strainer in the sink by closing the nut, and wipe off any plumber’s putty that comes out of the drain.
12. Connect the water sweat and fast
Arrange and connect the waste pipe and P-trap to the new sink. In general, you can tighten the plastic fittings by hand, but you can use a channel lock to ensure there are no leaks. At this point, if you have a garbage disposal or dishwasher, you’ll want to reconnect the water lines to those appliances. Be sure to follow the manufacturer’s instructions for safely reinstalling the waste.
13. Turn on the water and test for leaks
The final step in the process is to open the hot and cold water valves, returning the water flow to the pipes. Air will be forced through the pipe, so be prepared to spit and spray for a few seconds before the water continues to return. Keep the water running and check the water hose, water hose, water hose and drain strainer for any leaks.
If there are no leaks, turn off the water and clean your device of any other debris. Some leaks can be caused by poor quality clothes, so try to keep the things in the water in the water and the water running out if there is. If the leak continues, you may need to replace the mattress. This can sometimes happen with old faucets that haven’t been serviced in years. Also, be sure to recycle energy and waste disposal, if this applies to your kitchen.
You may also like

how to find apple watch serial number through iphone or apple watch
This article is about how to find apple watch serial number through iPhone or Apple watch. There are

How to connect Bluetooth headphones to Apple Watch
You can use your Apple Watch to listen to music, podcasts and other audio files stored on the watch

How to Boot asus Computer from USB in UEFI BIOS – 3 simple steps
This article is about how to how to Boot asus Computer from USB in UEFI BIOS. We assume you have a W