how to fix USB Drive that Keeps Disconnecting and Reconnecting in Windows 10 – 7 tips
This article is about how to fix USB Drive that Keeps Disconnecting and Reconnecting in Windows 10. If your USB drive keeps disconnecting and rebooting automatically every few seconds or so, the first thing you should do is make sure it’s working work on another computer.
If it works fine, the USB device itself is fine.
Besides that, you can also connect another working USB drive to the first computer to check if the USB connection is working properly.
If the USB disconnects and reconnects after a few seconds, there may be a hardware or driver problem with your computer.
how to fix USB Drive that Keeps Disconnecting and Reconnecting in Windows 10
To reassure you, we have collected some common answers below.
- Method 1: Reinstall the Universal Serial Bus drivers
- Method 2: Disable power saving option for USB driver
- Method 3: Set USB Suspension Options to Disabled mode
- Method 4: Run hardware and software troubleshooting
- Method 5: by command line
- Method 6: Scan and repair the USB drive
- Method 7: Format the USB drive
Method 1: Reinstall the Universal Serial Bus drivers
Step 1: Open Device Manager in Windows 10.
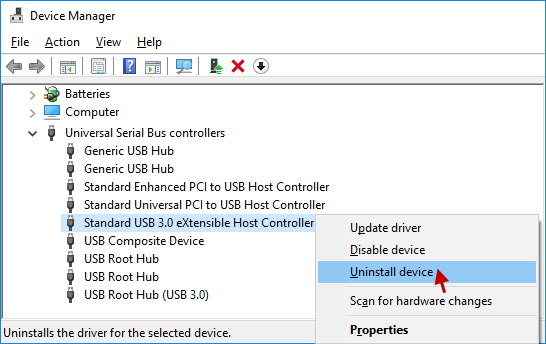
Step 2: Find and expand Universal Serial Bus Controllers, right-click on your USB device (in my case it’s Standard USB 3.0 Expandable Host Controller) and select Uninstall Device option from the pop-up list.
extend the Universal Serial Bus controller
Please note that the USB name may be different in different systems. For example, it can be a USB mass storage device.
Step 3: Click the Uninstall button to remove it. remove usb device
Restart your PC and check if the USB keeps stopping and connecting in Windows 10.
The problem has been solved. If so, that’s great! If the problem persists, please proceed to Solution
Method 2: Disable power saving option for USB driver
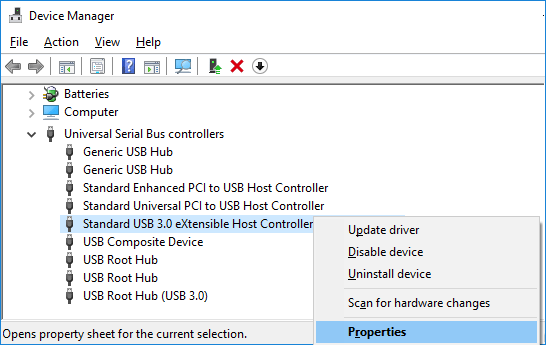
Step 1: Go to the device management interface, expand the Universal Serial Bus Controller section, right-click the standard USB 3.0 Extensible Host Controller and click Properties.
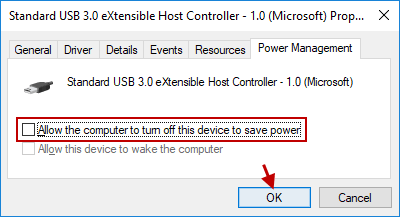
Step 2: Switch to the Power Management tab and uncheck Allow the computer to turn off this device to save power.
Click OK to save the changes you made.
After completing these steps, you need to restart the PC to see if the USB continues to stop and connect to Windows 10.
The problem is gone. If so, congratulations!
If the problem persists, proceed to the next step.
Method 3: Set USB Suspension Options to Disabled mode
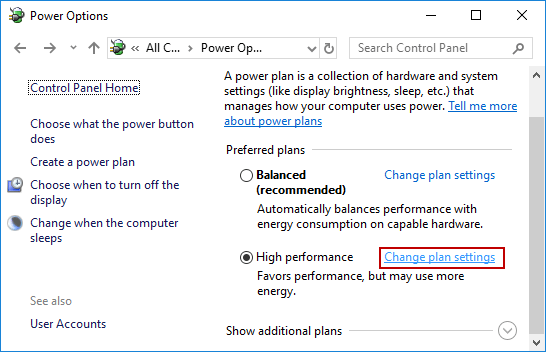
Step 1: Open Power Options in Windows 10.
Step 2: Click Change settings in the right pane of the window.
Step 3: Click Change advanced settings and Change default settings. Change the power settings
Step 4: Find and expand USB settings, select USB Selective Suspend settings and select Disable option in Settings area.
Click Apply and OK to save the changes.
select Disable
Connect your USB drive to a USB port and see if your USB drive can work properly.
Method 4: Run hardware and software troubleshooting
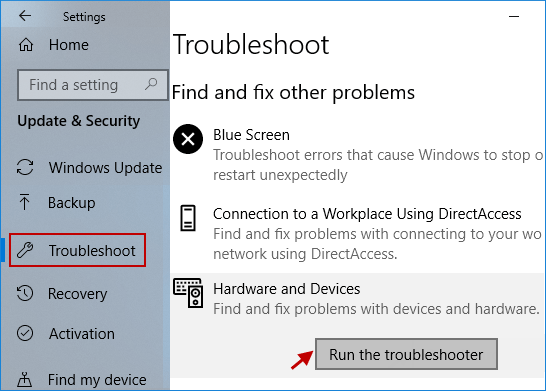
Step 1: Open the Settings app on Windows 10.
Click on Update & Security option.
open the Settings app
Step 2: Select the troubleshooting option on the left side of the window and click Run the troubleshooting option under the Tools and Devices directory.
Step 3: Follow the on-screen instructions to operate, it will start to diagnose and fix problems.
identify and solve problems
After that, restart the computer and connect the USB cable.
This will fix your USB stops and connect to Windows 10 edition.
Method 5: use command line
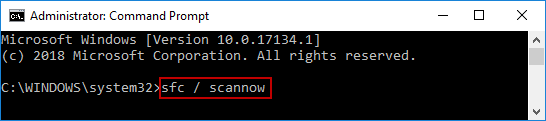
Step 1: Open Command Prompt as Administrator in Windows 10.
Step 2: In the Command Prompt window, type the command (sfc /scannow) and press Enter.
Restart the PC, connect the USB drive and see if you can remove the USB drive that keeps disconnecting and connecting to Windows 10.
Method 6: Scan and repair the USB drive
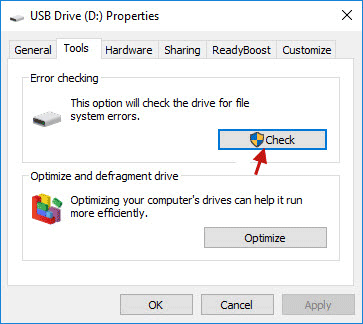
Step 1: Open “PC/This Computer”, right-click the USB drive and select Properties.
Step 2: Select the Tools tab and click the Check option under Error checking.
Step 3: Click Scan and Repair Drive to start scanning and fixing errors.
Click Scan and Repair Drive
Step 4: And scan your drive thoroughly. The USB key was detected successfully
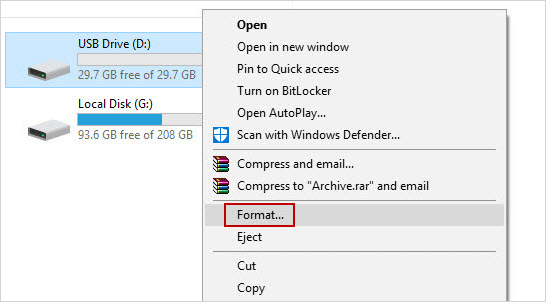
Method 7: Format the USB drive
Step 1: Insert your USB drive into your PC port. Right click on it and select Format… option. select the Type option
Step 2: Click the Start button to start formatting this USB drive.
Step 3: Click OK to confirm that you have configured the drive. Click OK to confirm
Step 4: When formatting is complete, click OK to close the window.
complete system design
Conclusion
That’s it. One of the solutions listed above should solve the problem of your USB drive stopping and connecting in Windows 10. If you are still having problems, please leave a comment below. will work together to solve the problem.
You may also like

how to change google chrome language
The web is an ever-expanding network that connects many parts of the world. As such, there are many
How to Access Data from BitLocker Encrypted Disk on macOS/Mac OS X – 7 steps
This article is about how to access data from BitLocker Encrypted Disk on macOS/Mac OS X. It is a co
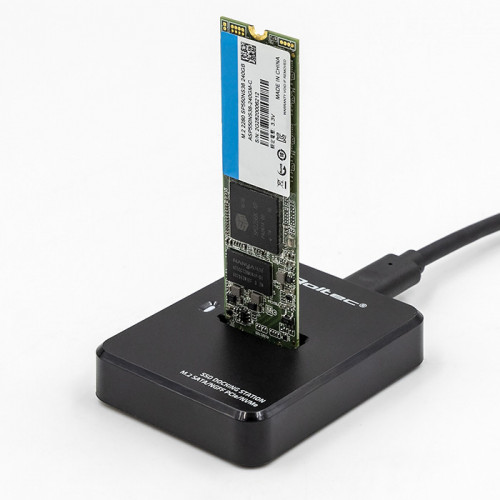
How to Clone M.2 SSD with Only One Slot
This article is about How to Clone M.2 SSD with Only One Slot. We assume that your motherboard suppo