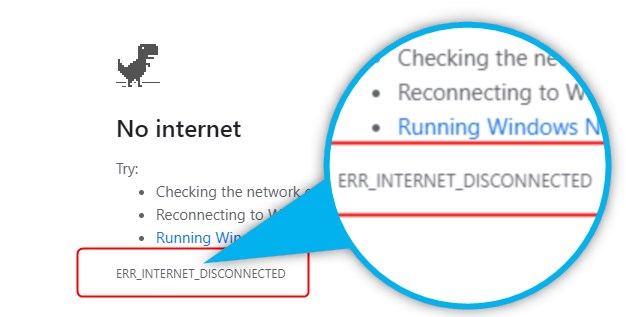
how to Fix ERR_INTERNET_DISCONNECTED Error in Google Chrome – 6 ways
This article is about how to Fix ERR_INTERNET_DISCONNECTED Error in Google Chrome. In fact, the error message ERR_INTERNET_DISCONNECTED is a common error in Google Chrome.
Usually, the ERR_INTERNET_DISCONNECTED error occurs when your computer stops connecting to the Internet.
If you can’t access a website from Chrome, you can try accessing the same website from another browser, such as Firefox, Safari, or Microsoft Edge.
If you can access the same website in Firefox, Safari, or Edge that you want to access in Google Chrome, there may be a problem with Google Chrome, so you need to fix it to make it work properly.
how to Fix ERR_INTERNET_DISCONNECTED Error in Google Chrome
Therefore, this article provides several solutions to solve the ERR_INTERNET_DISCONNECTED error in Google Chrome that you can try.
Method 1: Clear Google Chrome History
Method 2: Reset Google Chrome settings
Method 3: Reinstall the network adapter
Method 4: Disable Internet protocol version 6
Method 5: Troubleshoot Internet connection problems
Method 6: Disable the proxy server
Method 1: Clear Google Chrome History
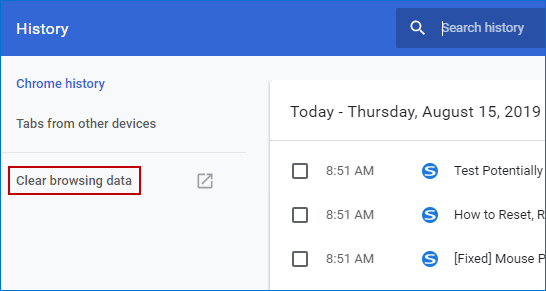
Step 1: Open Google Chrome and press Ctrl + H keys to open the History window.
Step 2: Once the report window appears, click Clear Browsing Data from the left panel.
Step 3: In the advanced section, check the following record as shown in this figure.
Next, click the Clear Data button to start clearing Google Chrome history.
press the clear button
Once it is completely deleted, close your Google Chrome browser and restart your PC to save the changes you made.
Check whether the error ERR INTERNET DISCONNECTED in Google Chrome is gone or not.
Method 2: Reset Google Chrome settings
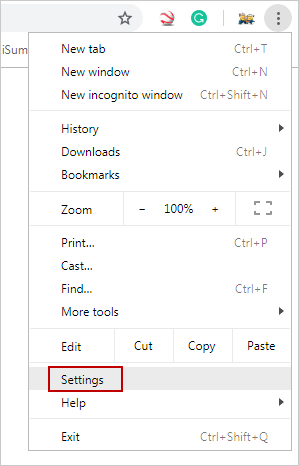
Step 1: Open Google Chrome, click the three dots in the upper right corner and click Settings from the context menu.
Step 2: When the settings window appears, scroll to the top button and click on the bottom.
Click the Up button
Step 3: Next scroll to the Reset and wipe section and click Restore settings to their original defaults.
Click Restore factory defaults
Step 4: This will bring up a box asking if you are sure to reset Google Chrome settings, click Reset Settings to continue.
Reset option
Restart your phone and see if the ERR INTERNET DISCONNECTED error in Google Chrome has been resolved.
Method 3: Reinstall the network adapter
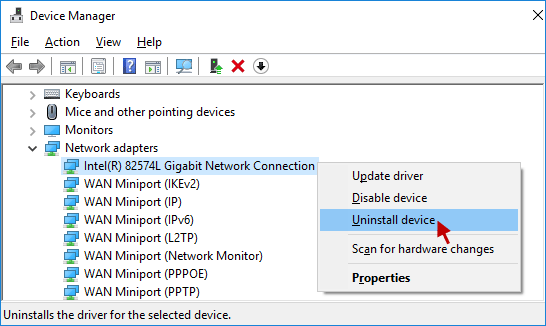
Step 1: Open Device Manager in Windows 10.
Step 2: Go to and expand the network adapter. Right click on your network connection and select remove device.
Restart your PC and the Windows system will automatically reinstall the default drivers. If that method doesn’t work well for you, you can try disabling IPV6.
expand network adapter
Step 3: Then it shows you a warning dialog box, just click Uninstall to confirm. Remove the network connection
Method 4: Disable Internet protocol version 6
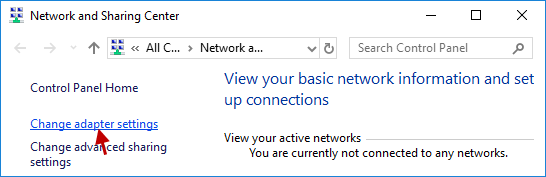
Step 1: Open Network and Sharing Center in Windows 10. Click Change adapter settings on the left side.
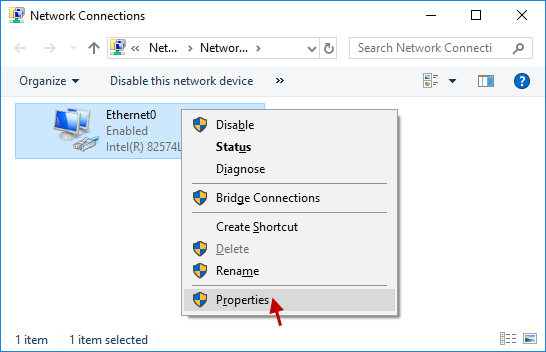
Step 2: The Network Connections window will appear, right-click on the network adapter (I’m using Ethernet) and click Properties.
Step 3: Uncheck Internet Protocol Version 6 (TCP/IPv6) and click OK.
remove internet protocol version
Restart your phone to save changes.
Check if it works for you, if it doesn’t then move on to the next solution.
Method 5: Troubleshoot Internet connection problems
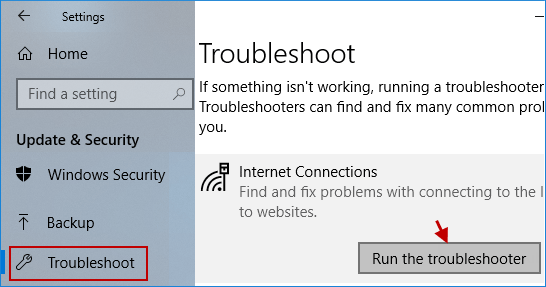
Step 1: Go to Settings app in Windows 10 and click Update & Security option.
Step 2: Select the Troubleshoot option from the left menu and click Run Troubleshoot under Internet Connection.
Step 3: Follow the on-screen instructions to run an internet connection troubleshooter to see if you can fix the ERR INTERNET DISCONNECTED error in Google Chrome.
identify problems
Method 6: Disable the proxy server
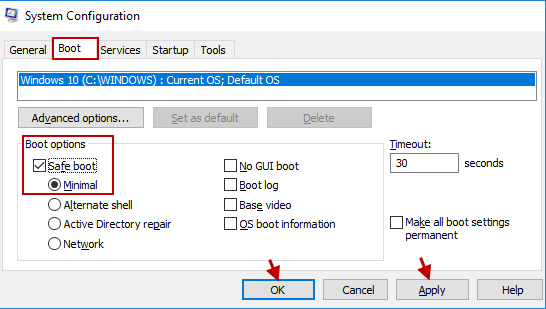
Step 1: Open System Settings in Windows 10, switch to Boot tab and check Secure Boot under Boot Options. Then click Apply followed by OK.
check Secure Boot
Step 2: A small box will appear asking if you are sure to restart your PC, click Restart to continue. Click restart
Step 3: Before entering safe mode, you will be invited to enter the connection password, simply type your correct password.
Type the connection password
Step 4: In Safe Mode, press Windows Logo + R Keys to open the Running dialog box, type INETCPL.CPL and click OK / Enter the Internet properties. open internet properties
Step 5: In the Internet Properties window, go to the Connections tab and click on LAN Settings.
click LAN settings
Step 6: Uncheck the box that says “Use a proxy server for your local network” and click OK.
remove the proxy server
Go to the configuration tool again and remove the safe mode option, then click Next Application OK to restart your PC, finally wait until you get out of safe mode.
See if this method solves the problem.
You may also like
How to Find the Product Key for Windows 10
This article is about How to Find the Product Key for Windows 10. Case 1: In the coming days, when W

How to set up and repair your Apple Watch from iphone
Setting up a new Apple Watch is pretty cool, no matter what model you have. All you need is an iPhon

How to see who viewed your Instagram video and stories
This article is about how to see who viewed your Instagram video and stories. Although you can’