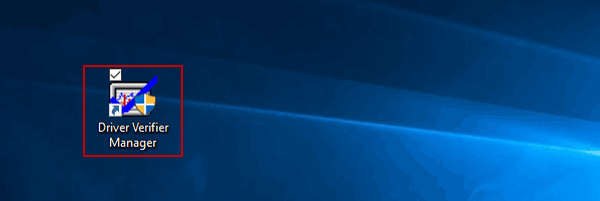
how to Create Driver Verifier Manager Shortcut on Windows 10 Desktop – 2 ways
This article is about how to Create Driver Verifier Manager Shortcut on Windows 10 Desktop. If you want to eliminate the tedious process of using different methods to find and open the Driver Verifier Manager in Windows 10.
You can create a shortcut for the Driver Verifier Manager on your Windows 10 desktop so that you can open it directly by double-clicking on its shortcut icon.
For some way, let’s see how it goes!
how to Create Driver Verifier Manager Shortcut on Windows 10 Desktop
- Way 1: Create a driver management shortcut on the desktop
- Way 2: Send the Driver Scan Manager shortcut to the desktop
Way 1: Create a driver management shortcut on the desktop
Step 1: Go to Windows 10 desktop.
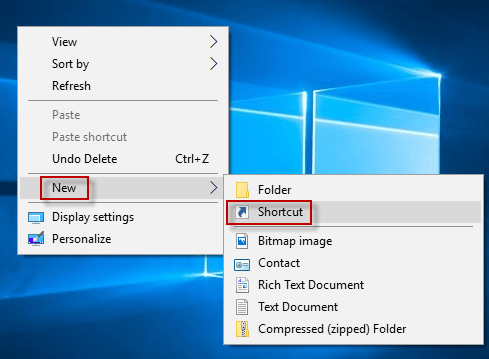
Step 2: Right-click anywhere on your desktop and select New > Shortcut from the context menu.
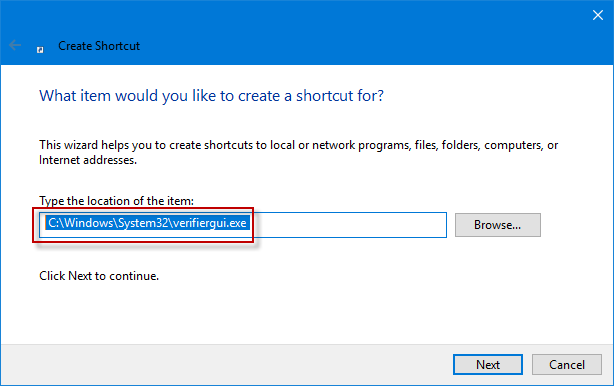
Step 3: In the Create Shortcut Wizard, enter the C:\Windows\System32\verifiergui.exe command in the location field and click Next to continue.
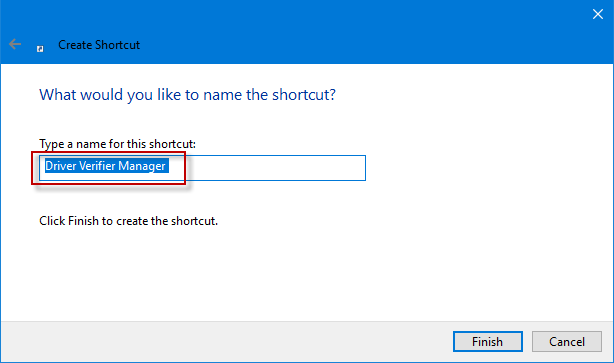
Step 4: Type Driver Verifier Manager and click Finish to create a driver manager shortcut on the Windows 10 desktop.
Way 2: Send the Driver Scan Manager shortcut to the desktop
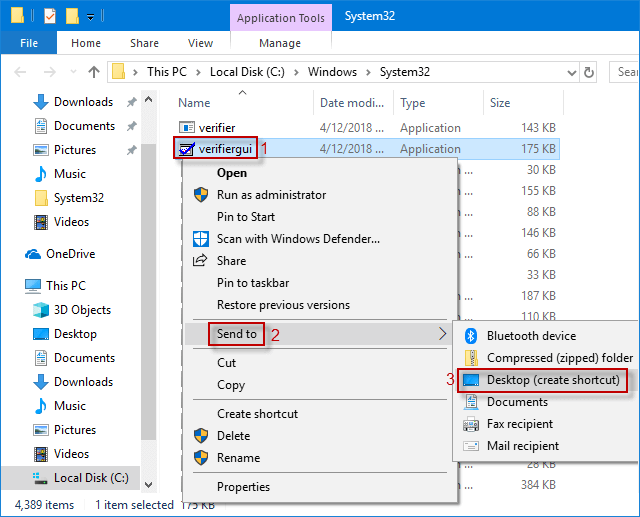
Step 1: Type verifiergui.exe in the search box on the taskbar, right-click verifiergui.exe in the result list, and select Open file location from the drop-down menu to launch the File Explorer window.
Alternatively, you can also open Windows 10 File Explorer first and go to Local Disk (C:) > Windows > System32 > verifiergui.exe in File Explorer.
Step 2: Right-click verifiergui to select Send to > Desktop (create shortcut) from the context menu; send driver management shortcut to windows desktop
Step 3: When the verifiergui shortcut appears on your Windows 10 desktop.
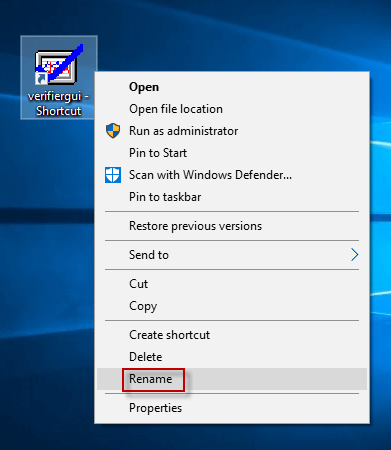
You can right click on it and select Rename option to rename it in Driver Verifier Manager.


