
how to add a verified badge to WordPress authors
If you blog with a lot of trusted authors and want to add a verified logo/badge to their profile, you can do it with a simple CSS code. This article is about to add a verified badge to WordPress authors.
The received token works as a public proof for users, creating a bond of trust between the author and the reader.
It works as a sensor that determines whether the content is reliable to rely on or deliver.
The badge itself defines and communicates the content of your blog, and most of the audience likes to read stronger content.
Follow these steps to add a verified badge to WordPress authors.
1. Collect Awesomefont badges
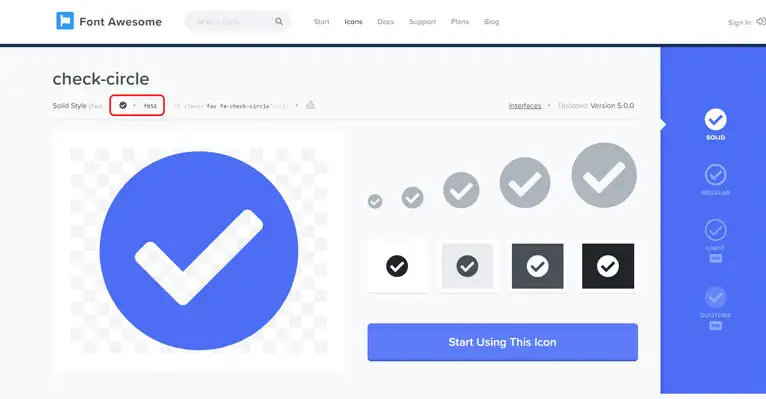
FontAwesome is a free resource for accessing thousands of fonts, both free and paid.
Many developers love it for its free icons and use it with other resources such as 8 icons or assets.
Go to FontAwesome and search for “Check“, to find a specific icon that is free.
If you want, you can buy the Pro version to get a nice badge.
2. Adding symbols to CSS
Go to your WordPress dashboard,
go to Appearance > Customize.
In another tab, open any blog post and right-click on the author’s name.
Then click “Browse” to find the “CSS Class” used in this specific program.
.author-name:after {
content:’\f058′;
font-family:FontAwesome;
font-size:20px;
margin-left:5px;
color:#00000;
}
For most articles, the author class is set to “author name“.
In the editor, look for “Additional CSS” at the bottom of the menu to add custom CSS specifically for this badge.
.author-name[user_id=”123″]:after {
content:’\f058′;
font-family:FontAwesome;
font-size:20px;
margin-left:5px;
color:#000000;
}
Just paste the code into the “Additional CSS” section and click “Publish” to save your changes.
You may also like

How to delete Snapchat messages before they are read by RECIPIENT
Snapchat messages are designed to be automatically deleted as soon as recipients open and read them.
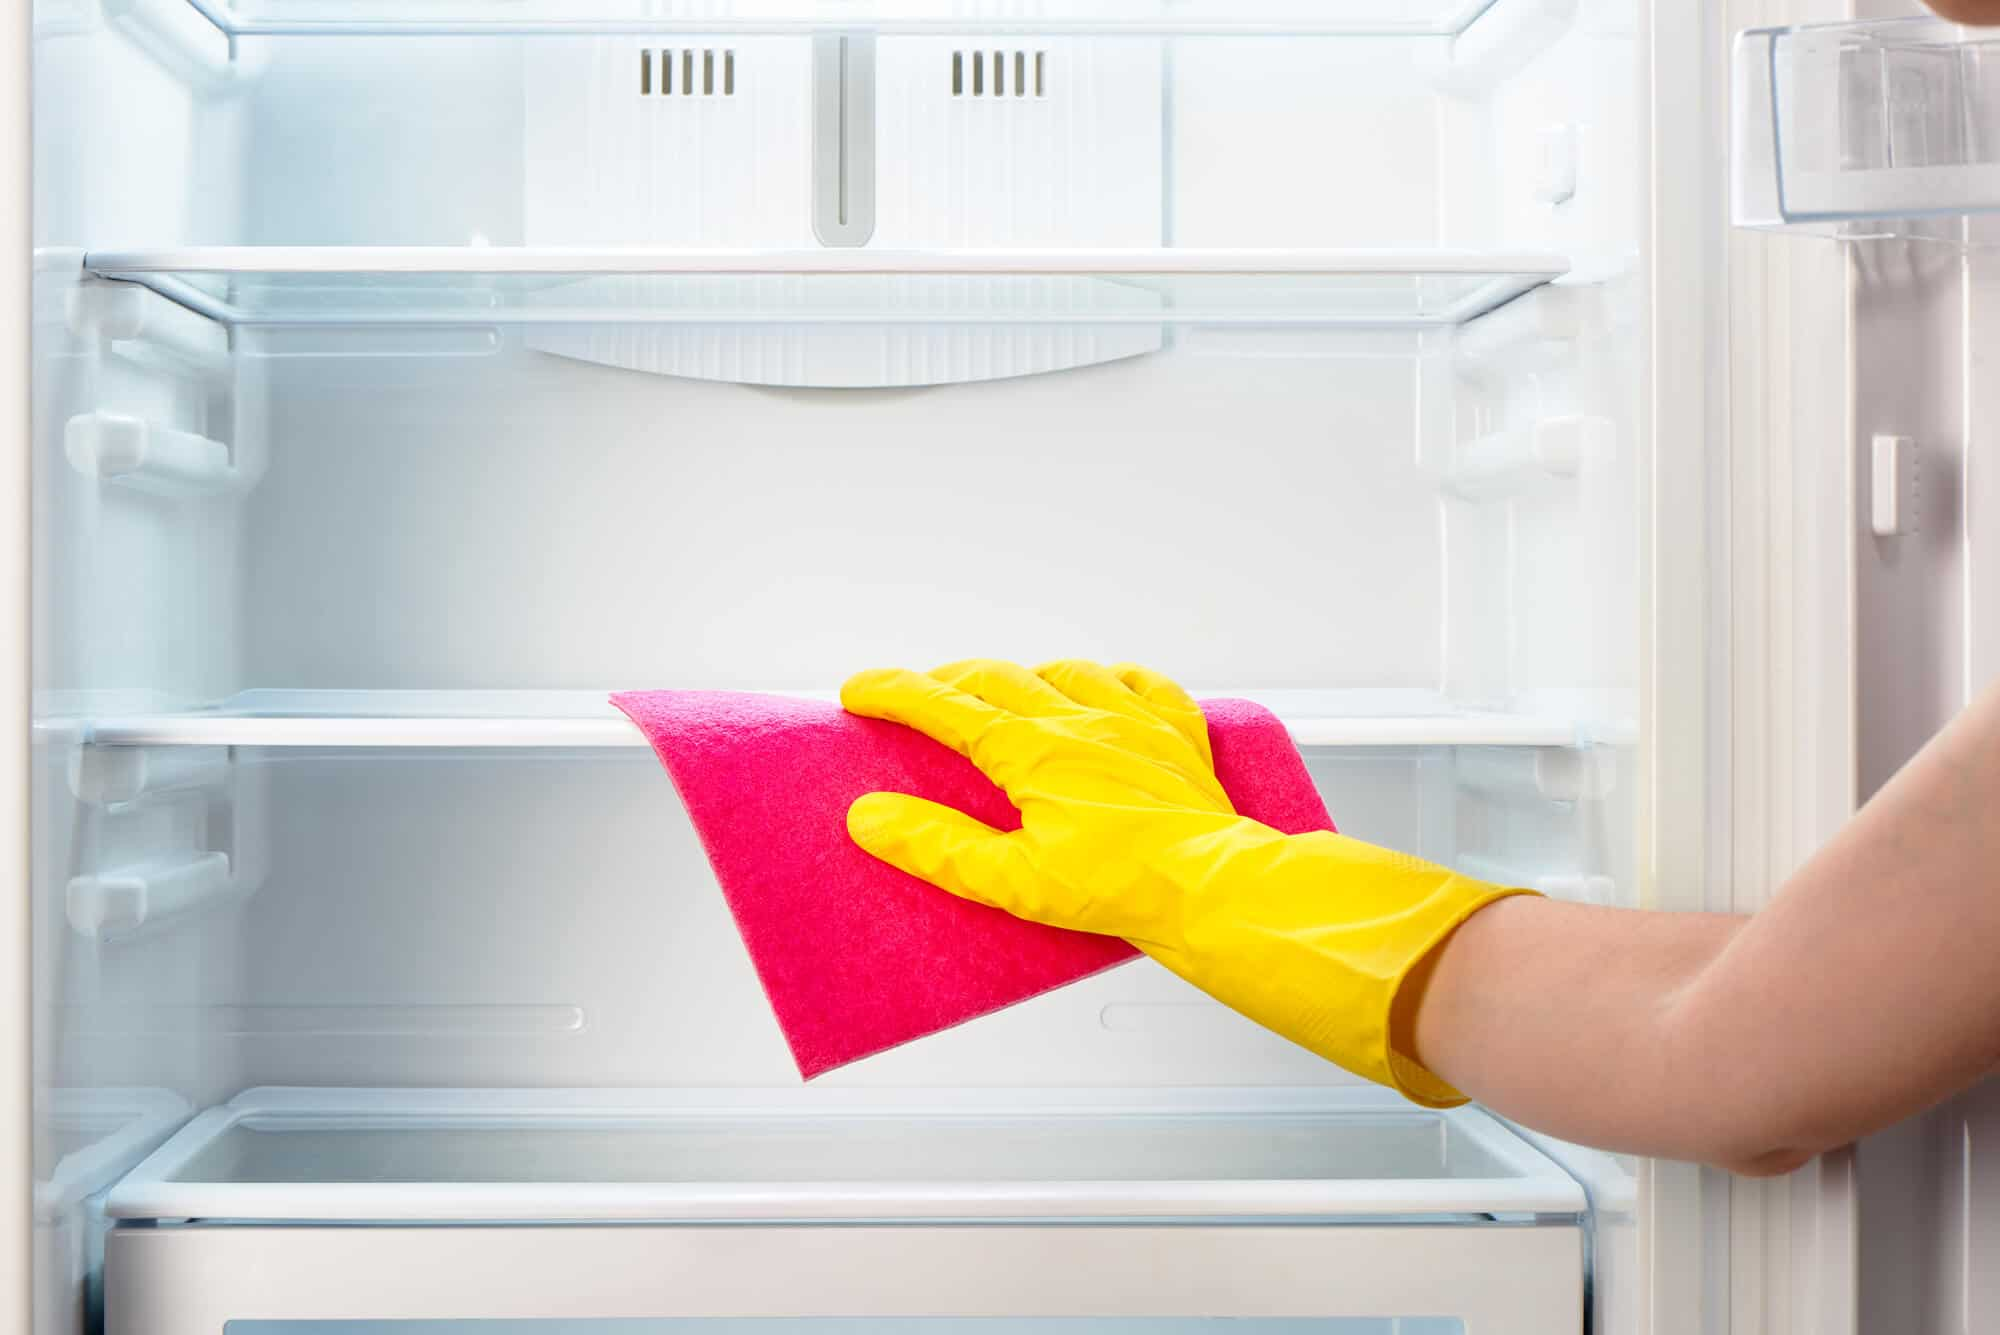
how to deep clean your freezer
Before we talk about how to deep clean your freezer, when was the last time you cleaned your freezer
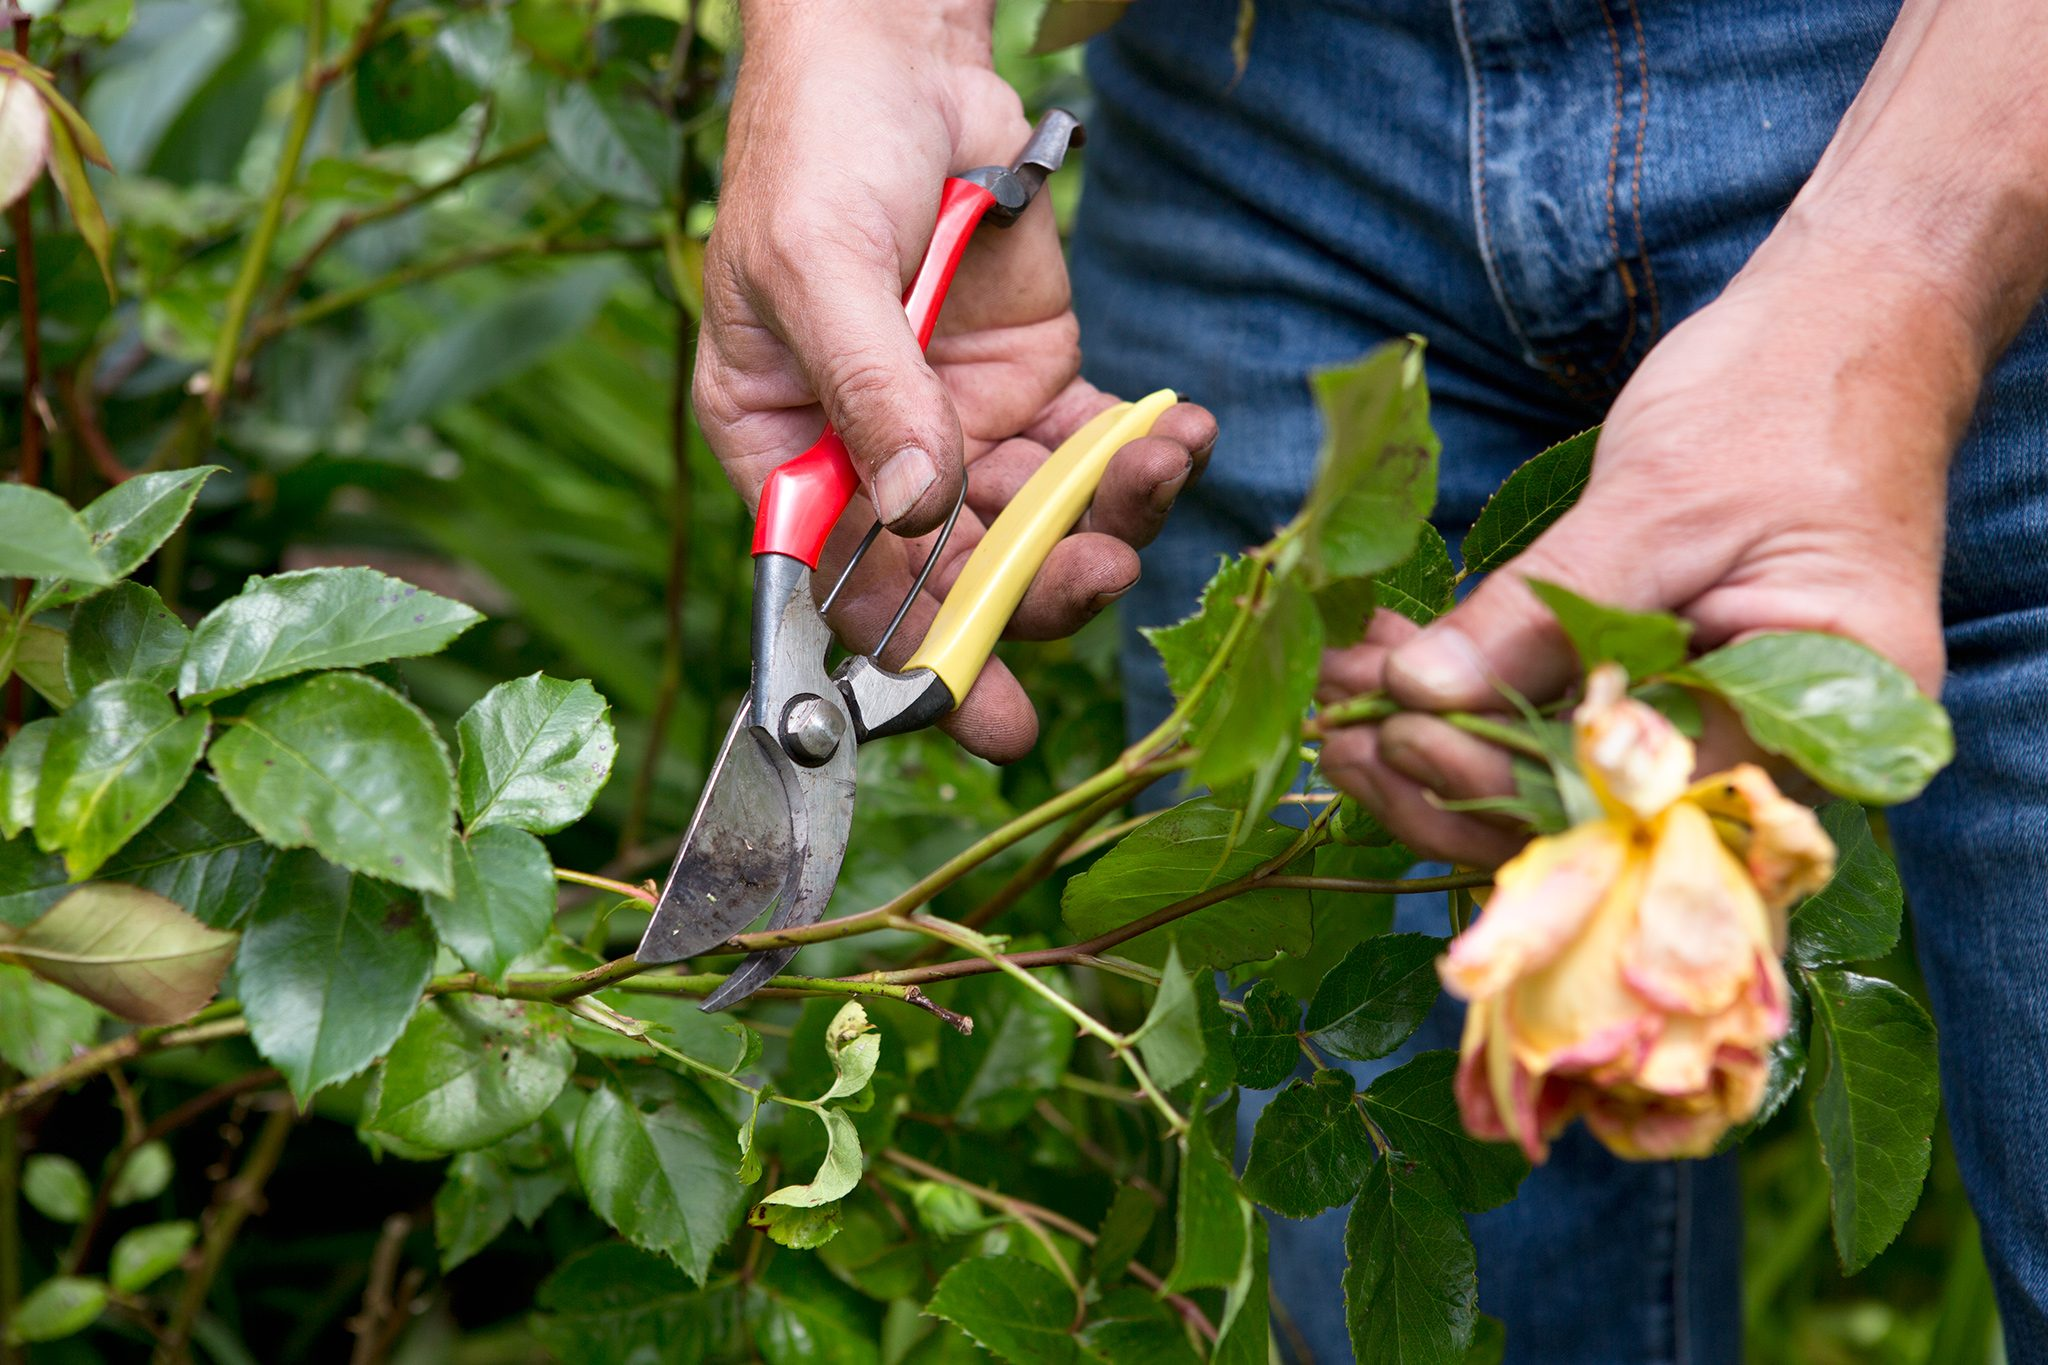
how to take care of your garden – 11 steps on beginners guide
Today we discuss how to take care of your garden using 11 easy steps which form out beginners guide