7 steps on how to clean a home ice maker
Today we are going to give you 7 steps on how to clean a home ice maker. Nothing is as important as taking care of anything that ends up in your digestive system.
Ice makers need to maintain high level hygiene, so we thought we can give you some tips on how to easily clean your ice maker.
7 steps on how to clean a home ice maker
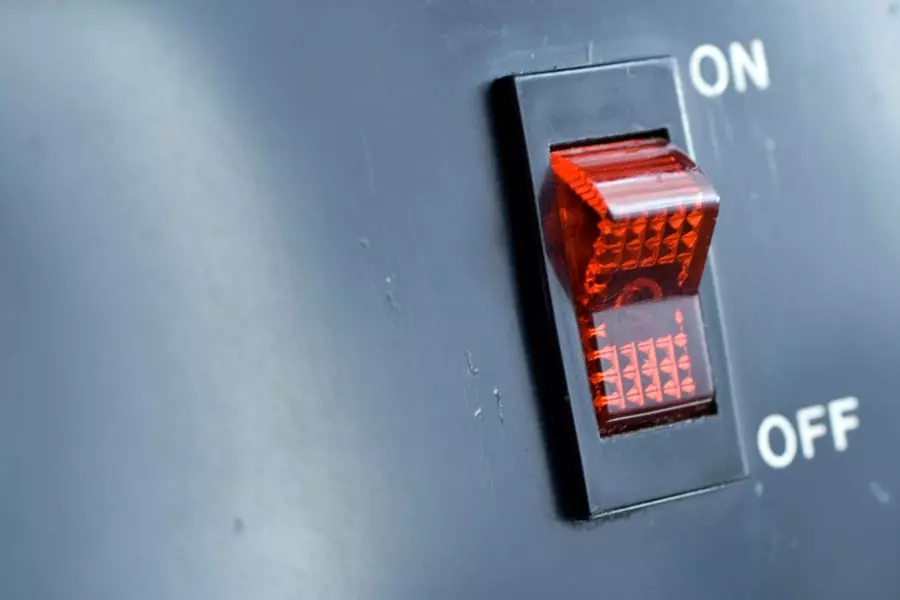
1. Turn off or unplug your ice maker and drain the water
Before you begin cleaning your ice maker or freezer, make sure it is turned off or unplugged.
Wait 5-10 minutes for the ice to settle into the storage area.
Remove the ice and drain the remaining liquid in minutes.
In most ice makers this can be done by removing the water plug.
Let one sit for 5 minutes to make sure all the water has drained, then replace the water plug.
2. Remove and clean the removable parts of the ice machine
Everything that goes into the ice in your ice maker should always be clean. If your ice maker has a basket or other container, remove it from the ice scoop or tumbler.
Hand wash everything in warm soapy water, rinse thoroughly, and let dry completely.
Do not use plastic parts in the dishwasher.
Tip: Sometimes old ice can form and melt causing your ice basket to stick.
Let the ice melt a little, using lukewarm water if necessary.
You can also gently leave the ice bucket in place with a spoon, carefully breaking up the ice as it melts.
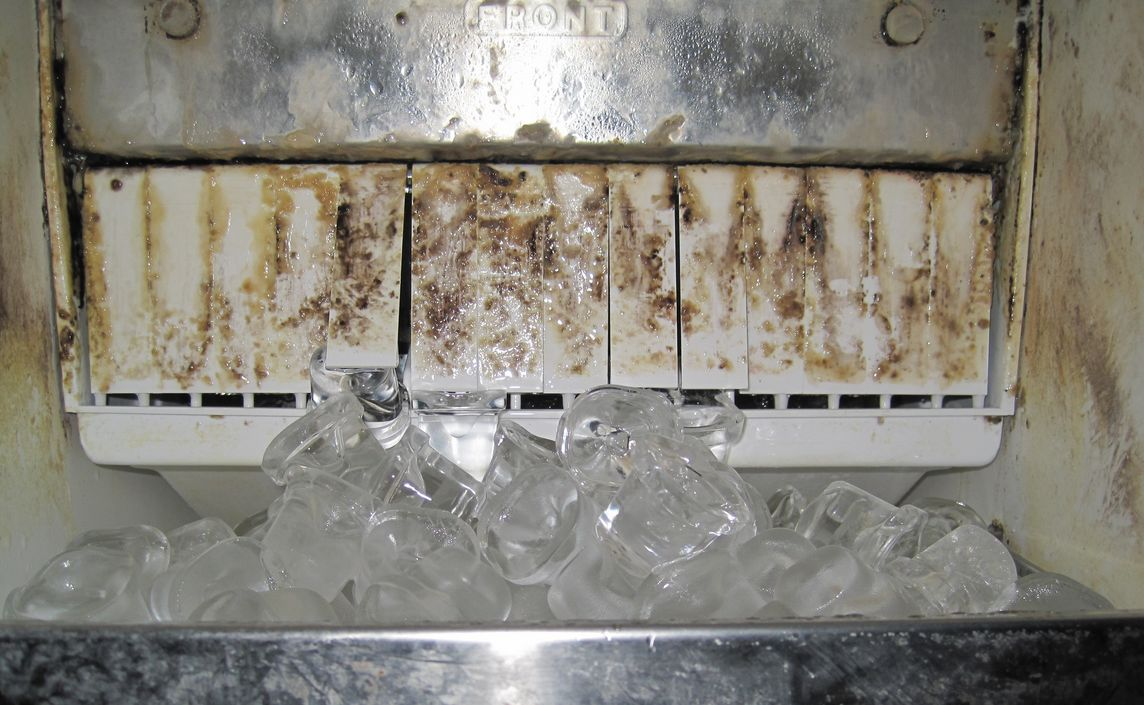
3. Clean inside the ice maker
After removing the bucket and other parts, take the time to clean the interior of the ice. (If you’re cleaning the refrigerator, you’ll need to remove any leftover food inside.)
Use a soft cloth and warm water, soap, or two tablespoons of baking soda dissolved in a gallon of water. ‘Soft water.
Once you have cleaned the surface of the room, use a soft and gentle cloth to wash it.
Finally, wipe the interior with a soft towel.
Replace the removed inner parts once they are completely dry.
Tip:
- If you find hard water in your ice maker, use a soft toothbrush or a paste of baking soda and water to remove it.
- Do not use abrasive cleaners, hard bristle brushes or sharp cleaners, which can damage the inner plastic fibers.

| Steps on Cleaning The Inside of a portable ice maker |
|---|
| Use a 10:1 ratio of water to white wine or lemon juice. |
| **Run the ice maker to make small ice cubes (at least 2). Throw away the ice cream. |
| Remove the cleaning solution from the water tank. |
| Remove the water pipe from the evaporator, clean and dry it. |
| Remove the ice basket.Add a mixture of mild cleaning solution to the water tank. |
| Add fresh water to the water tank up to the water level mark. Run the ice maker to make a few scoops of ice. |
| Throw away the ice cream. Skip the water. |
| Add fresh water to the water tank to make ice, or dry the inside and outside with a soft and clean cloth to protect the machine. Ice cream cones should be washed regularly. Wash it like any other utensil. |
4. Change the water filter in your ice maker
Most refrigerators, freezers and ice makers have water filters that need to be replaced periodically. If your unit has a water filter, cleaning the ice maker is a great opportunity to remove the old filter and replace it with a new one.
If you are cleaning your refrigerator’s ice maker, turn your refrigerator back on and do a few ice cycles to distribute fresh, dry water through the ice maker. Dump the ice every now and then.
For ice makers only, continue with the instructions below.
5. Pour the cleaning solution into a pitcher or ice maker
If you are using Ice Machine Cleaner, simply pour the contents of the bottle into a water container or your machine’s storage tank, then add 32 ounces of water . If you don’t have an ice machine cleaner solution at home, cleaning your ice machine with alcohol is another option.
Make a mixture of 10 parts water and one part distilled white wine and pour it into the water tank.
6. Run the ice making or drying process
Run at least two cycles to distribute the cleaning solution through the machine. (If your ice maker has a cleaning cycle, use that.)
Discard the ice in these batches and check for cleaning in a container or container.
If so, run another cycle to distribute and rinse the unit.
After using all the cleaning solutions, fill the clean water with clean water and install the water plug safely.
Note: If you have multiple access points, you can repeat this process.
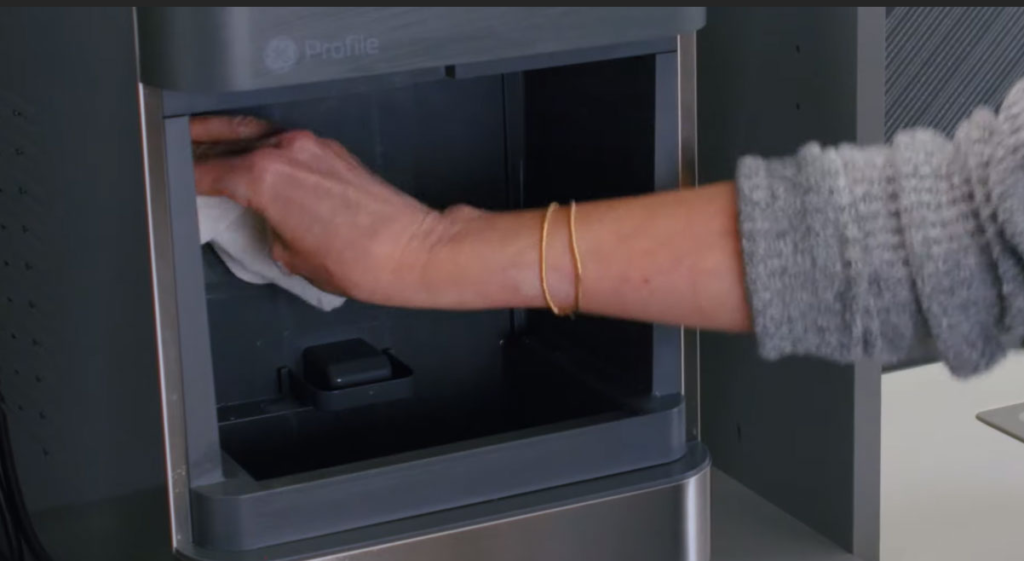
7. Wipe the outside of the ice machine
Clean the outer enamel surface and gaskets with warm water and mild soap or detergent.
Wipe and dry.
For the stainless steel surface of the ice maker, spray stainless steel spray on a clean microfiber cloth and wipe across the grain.
Tip: Do not use ammonia or citrus cleaner on stainless steel.
- Avoid steel wool,
- paper towels,
- newspapers,
- scarf pads, or
- liquid or powder cleaners on stainless steel surfaces.
Once your ice maker is completely cleaned and the ice from the cleaning batches is discarded, you’re ready to enjoy clean appliances and delicious ice!
Repeat this process every nine months or more if your indicator light turns yellow or you notice that your ice taste is ‘off’.
General Remarks
Check your filter.
You may not know that your ice maker has a water filter. If it is covered with all these minerals, it will not allow much water, which will affect the performance of the machine. An old filter – perhaps the culprit of my ice cream maker – can affect the taste of ice cream.
“Water filters should be changed every six months”
Follow your manufacturer’s instructions. (A good way to remember this is to do it when you change the batteries in your smoke detector.)
Do a few rounds.
Re-refrigerate or turn the ice maker back on.
Make the ice cycle run two or three times and discard the ice cubes.
In fact, clean and throw away unused ice cubes every few months from now on, as they absorb all the odors in your freezer.
You may also like

how to search for a house in the us when there is a shortage
The home buying journey is exciting, but there are more buyers than homes for sale on the market tod

how to sell your house without a realtor in the usa
Today we are going to discuss how to sell your house without a realtor in the USA. If you want to fi
10 uses of vinegar when cleaning your kitchen
Many people find that the kitchen is the hardest room in their home to clean. And for good reason! W